| More Technical Support tutorials | |
| + | Configuring your POP email Client for use with NewHomePage |
| + | How to Clear your Cache |
| + | FTP and Front Page Upload Support |
| + | How to setup Outlook express in Mac |
| + | HTP setup for Front Page |
How to setup Outlook
express in Mac
| 1.- Download Outlook express Click here to download.
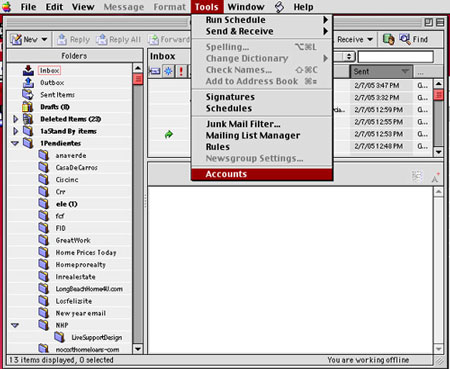
2.- Open Outlooks express. Go to Tools option and Choose Account.
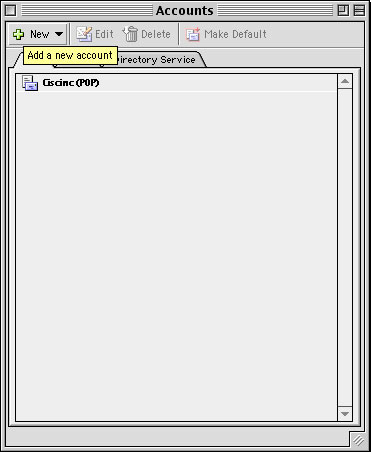
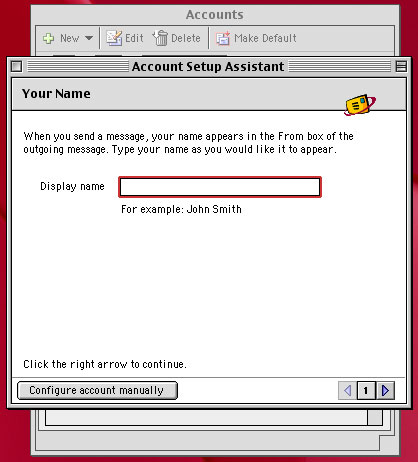
3.- Click on “New ” button to add a new Account 4.- An “Account Setup Assistant” window will open. Type your name on the box and click in the arrow at the buttom right of the window.
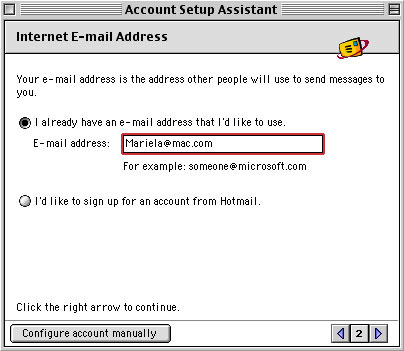
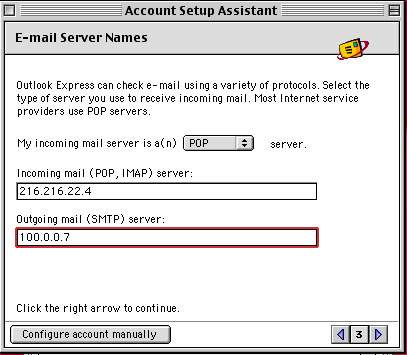
5.- Enter your email Email address and click on the arrow at the button right of the window to continue. 6.- For your incoming mail server, choose POP. For the incoming mail server, type in "mail.ciscinc.com". For the outgoing mail server, type in the same thing: " mail.ciscinc.com".
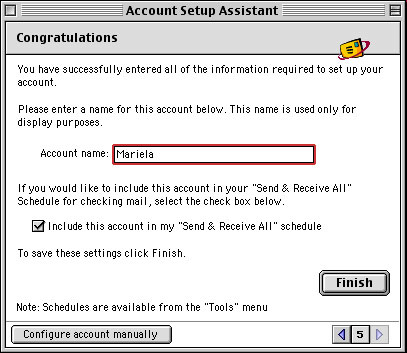
8.- Now your are a step to finishing the settings. Type in “Account Name” the name that you which to appear in this account setting so you'll know which account you're checking if you decide to set up more than one account
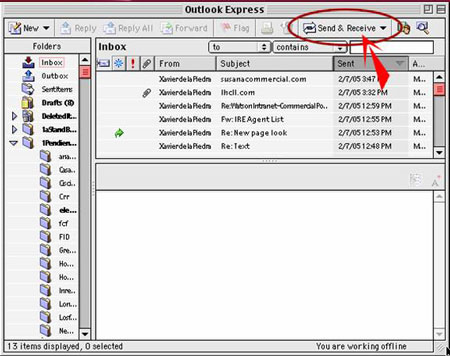
9.- Go to tools menu and choose account. You will see the new account you made. Now double click on the account and will pop up a window with the settings.
10- If some setting changed in the future you can modify here. Click ok to close the window. 11.- To check if you have a new email. Click on “Send & Receive” button.
|